Session Handling Middleware in Django
You hate it, but you still wanna use it it.


Alright, this is my second technical article in a short span. I'm mostly dumping my learnings here, for that serves two purposes. Proof of work duh and next time I'm trying to implement the same thing I visit this for quick reference. Said every technical blogger ever? Well my first ever article (on Medium), gosh! did I go back to it frequently? With dockerization and whatnot, that article is pretty much useless now. But still, if you are a nerd who wants to set up a pseudo-distributed Hadoop Cluster in 2023, please do visit that article; not gonna lie I still do get the occasional "applause thing" for that article.
Alright, what's the problem?
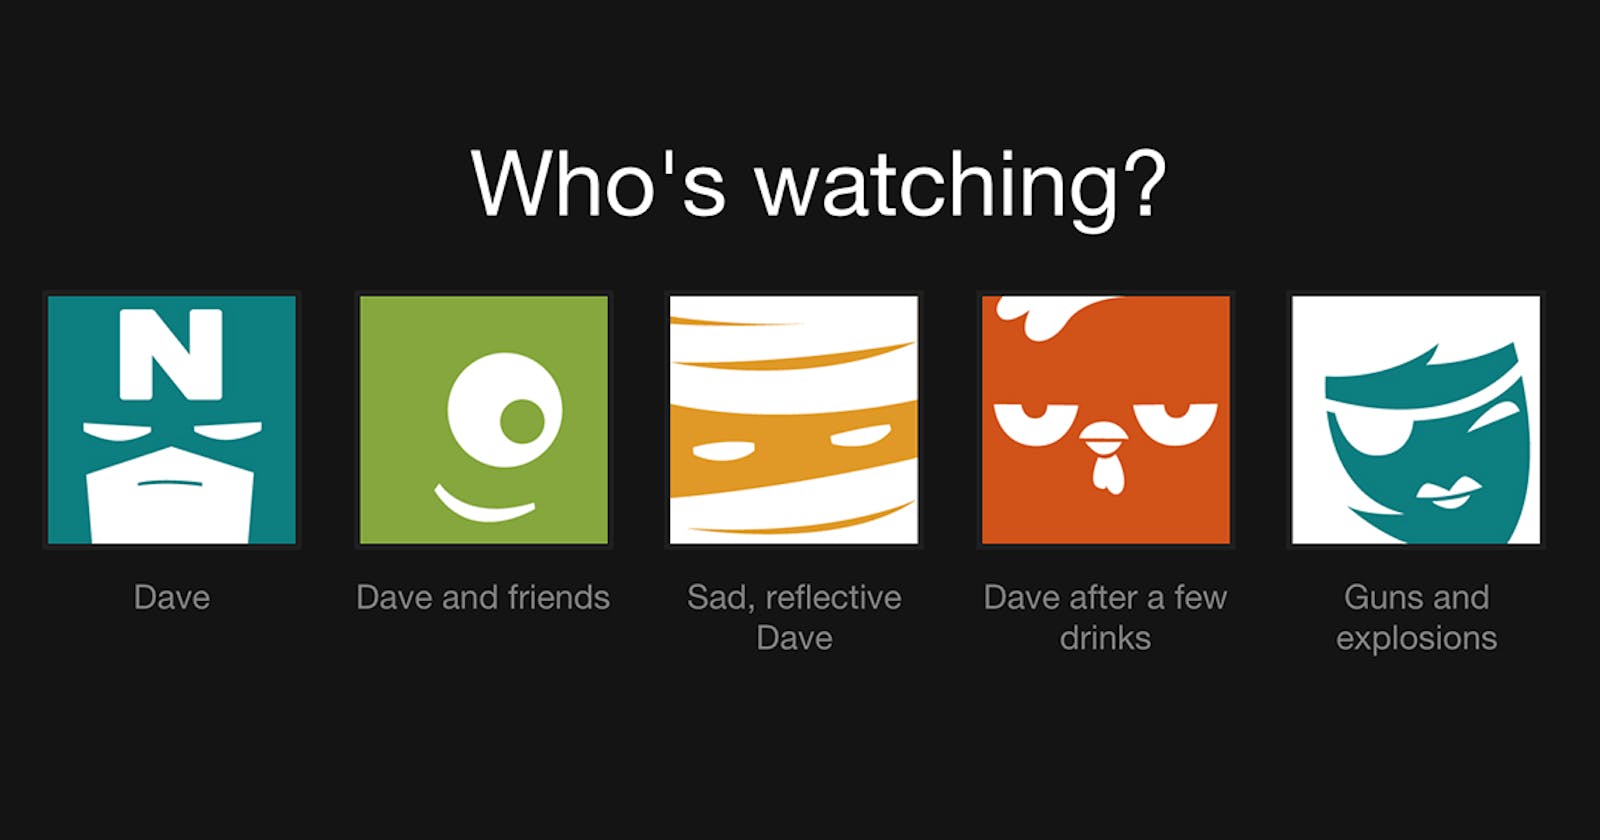
You've probably used Netflix, Hotstar or any of those streaming services. The whole Netflix password-sharing fiasco that was the talking point on Twitter seemed to have died off. Well if you didn't guess what I'm talking about already, I'm talking about restricting sessions, i.e. Monitoring the total number of sessions that a user is active and restricting access. Why not incorporate this into your personal project? Why, because overengineering, duh. And I can make a case, that you have a personal project in mind, and you are in fear that it wouldn't scale when you very well know that the only user is going to be you and the friends you forced to use it. Happens to the best of us. 🙂 Alright let's get technical.
Django Sessions
In Django, a session is a mechanism for storing data on the server side between requests. It allows you to store user-specific data that can be accessed across multiple requests, such as user authentication data or user preferences.
Here are the basic steps to use sessions in Django:
Enable sessions in your Django project by adding 'django.contrib.sessions.middleware.SessionMiddleware' to your MIDDLEWARE setting in settings.py.
To store data in a session, use the request.session dictionary to set and retrieve values. For example, you can set a session value like this:
request.session['username'] = 'john'To retrieve a session value, simply access it like any other dictionary value:
username = request.session['username']By default, Django stores session data in a database table. However, you can also use other storage backends such as caching or file-based storage. To configure the session backend, set the SESSION_ENGINE setting in settings.py.
To delete a session value, use the del statement:
del request.session['username']Finally, to clear the entire session and delete all values, use the clear() method:
request.session.clear()
Sessions are an important part of web development, and Django provides a simple and powerful way to use them in your projects. By using sessions, you can provide a more personalized and customized experience for your users.
Alright we have can track the sessions of users quite efficiently in Django, now let's make a proposition. If we can somehow capture the event of storing the session, and interject it before it happens then restrict the creation of new sessions or even better, make the previous sessions invalidated in the event of the user creating a new session that exceeds the limit. So the three words that came to my mind are Middleware, Signals and Pizza.
Middleware in Django is a way to process HTTP requests and responses in a pluggable manner. It is a framework for adding extra functionality to the request/response processing pipeline, such as authentication, caching, compression, and more.
Middleware works by intercepting requests and responses and performing some actions on them. For example, middleware can modify the request or response headers, or it can process the request and generate a response without passing it to the next middleware in the pipeline.
In Django, middleware is implemented as a series of classes that are defined in a middleware.py module in your app or project. Each middleware class defines two methods: __init__() and __call__().
The __init__() method initializes the middleware object with any configuration options, while the __call__() method is called for each incoming request and outgoing response. In the __call__() method, you can perform any necessary processing on the request or response and then either pass it on to the next middleware in the pipeline or return a response directly.
Here's an example of a simple middleware that adds a custom header to every response:
class CustomHeaderMiddleware:
    def __init__(self, get_response):
        self.get_response = get_response

    def __call__(self, request):
        response = self.get_response(request)
        response['X-Custom-Header'] = 'Hello, World!'
        return response
In this example, the __init__() method initializes the middleware object with a get_response argument, which is a callable that takes a request and returns a response. The __call__() method is called for each incoming request and outgoing response, and it adds a custom header to the response.
To use this middleware, you would add it to the MIDDLEWARE setting in your project's settings.py file:
MIDDLEWARE = [
    # ...
    'path.to.CustomHeaderMiddleware',
]
This would add the middleware to the pipeline, and it would be called for each incoming request and the outgoing response.
Middleware is a powerful feature of Django that allows you to add functionality to the request/response processing pipeline in a modular and reusable way. By using middleware, you can easily add features like authentication, caching, and more to your Django project.
Alright now that I have the middleware that provides the platform to interject the session requests, so now we can focus on handling the trigger or signal in Django that handles the sessions.
More about signals in Django
In Django, signals are a way for decoupled applications to get notified when certain events occur elsewhere in the codebase. They provide a way for loosely coupled components to communicate with each other without needing to be tightly coupled.
Signals are implemented using the django.dispatch.Signal class, which allows you to define your own custom signals. Signals can be sent from any part of your codebase and can be received by any number of signal handlers. Signal handlers are functions that are registered to receive signals and perform some action in response to the signal.
Here's an example of a signal and a signal handler in Django:
pythonCopy codefrom django.dispatch import Signal

# Define a custom signal
my_signal = Signal()

# Define a signal handler
def my_signal_handler(sender, **kwargs):
    # Do something in response to the signal
    pass

# Register the signal handler to receive the signal
my_signal.connect(my_signal_handler)
In this example, we define a custom signal called my_signal using the Signal class. We also define a signal handler function called my_signal_handler that takes a sender argument and any number of keyword arguments (**kwargs). The sender the argument is the object that sent the signal.
We then register the signal handler to receive the my_signal signal using the connect() method. Now, whenever the my_signal signal is sent, the my_signal_handler function will be called and can perform some action in response to the signal.
Signals are a powerful feature of Django that allows you to decouple different parts of your codebase and make them more modular and reusable. They can be used for a wide variety of purposes, such as triggering email notifications, updating search indexes, or clearing caches.
Let's get into the implementation.
Keep It Simple Stupid
Created a simple LoggedIn user entity with a 1:1 mapping
Mapped the user with the session ID
Interject a session request and check if a logged-in User Entity there already exists.
If yes invalidate the other entities.
from django.db import models
from django.conf import settings

class LoggedInUser(models.Model):
    user = models.OneToOneField(settings.AUTH_USER_MODEL, related_name='logged_in_user', on_delete=models.CASCADE)
    session_key = models.CharField(max_length=32, blank=True, null=True)

    def __str__(self):
        return self.user.username
# middleware.py
from django.contrib.sessions.models import Session

class SessionHandler:
    """ Middleware that ensures only only session per User """
    def __init__(self, get_response):
        self.get_response = get_response

    def __call__(self, request):
        if request.user.is_authenticated:
            # Session ID of the newly logged-in User
            current_session_key = request.user.logged_in_user.session_key

            # Deletes the entry from the Sessions Database if an earlier session existed
            try:
                if current_session_key and current_session_key != request.session.session_key:
                    Session.objects.get(session_key=current_session_key).delete()
            except:
                print("flush the sessions")

            # Saves the latest session of the corresponding user
            request.user.logged_in_user.session_key = request.session.session_key
            request.user.logged_in_user.save()

        response = self.get_response(request)
        return response
from django.contrib.auth import user_logged_in, user_logged_out
from django.dispatch import receiver
from .models import LoggedInUser

@receiver(user_logged_in)
def on_user_logged_in(sender, **kwargs):
    LoggedInUser.objects.get_or_create(user=kwargs.get("user"))

@receiver(user_logged_out)
def on_user_logged_out(sender, **kwargs):
    LoggedInUser.objects.filter(user=kwargs.get("user")).delete()
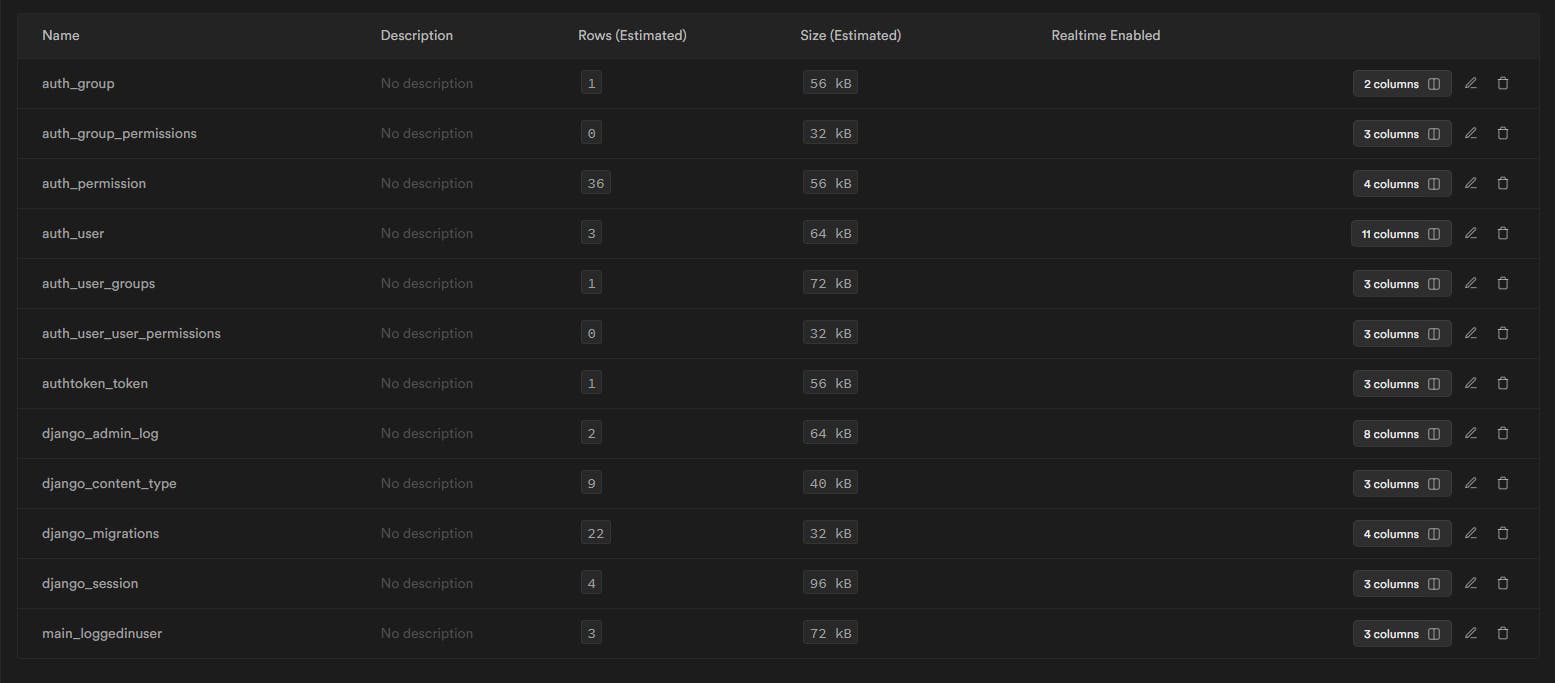
To note: the main_loggedinuser maps to the auth_user's session key and ensures only one session per user exists.
Have already implemented this in one of my personal project: https://github.com/msris108/explain-ai/